
Iris Wave Beach Dress: Free Crochet Pattern
- Alison Dowler
- Jun 10, 2024
- 4 min read
Iris Wave Beach Dress: Free Crochet Pattern

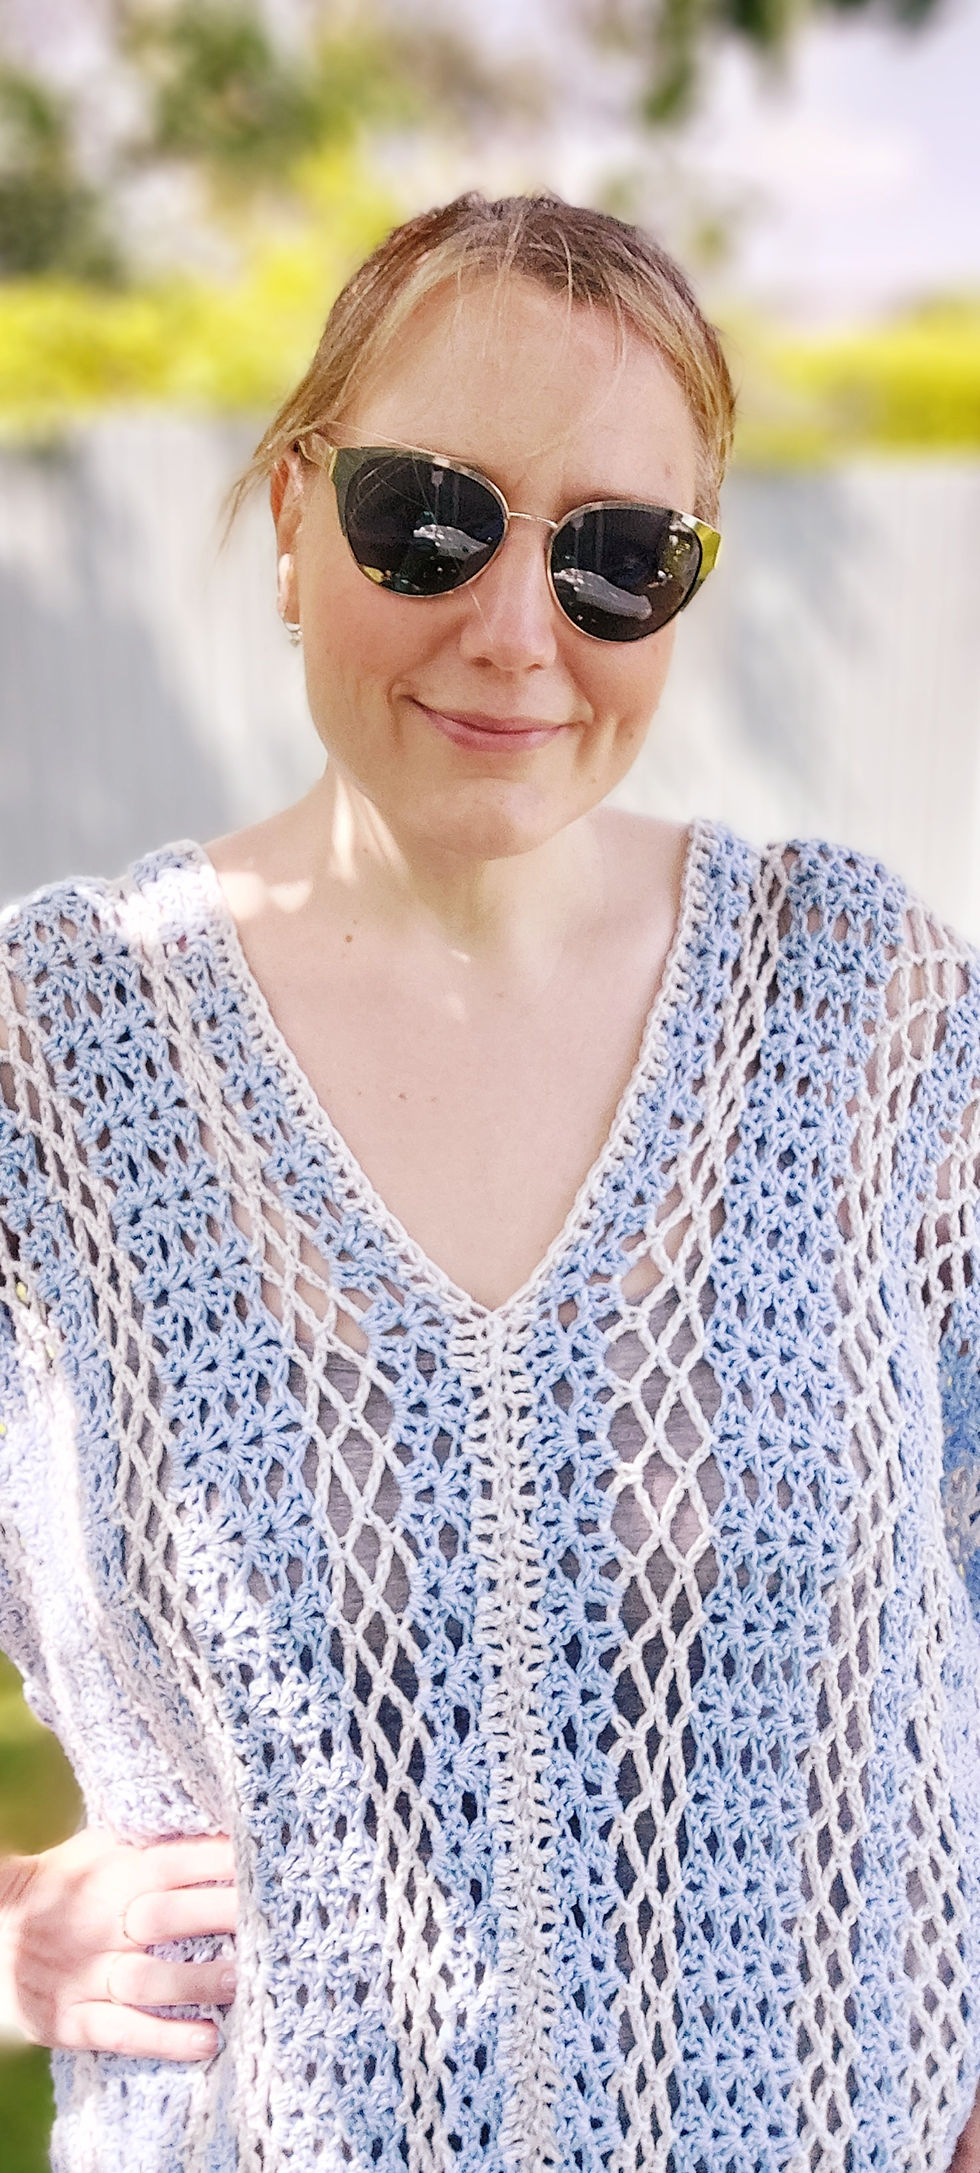
Are you ready to hit the beach in style this summer? Look no further than the Iris Wave Beach Dress, a stunning free crochet pattern that's perfect for your seaside adventures. Crafted with two colours of cotton DK yarn and a 5mm crochet hook, this dress is not only beautiful but also incredibly easy to make.
The Iris Wave Beach Dress features an effortless pattern repeat, making it a quick project even for beginners. Its lacy and lightweight design ensures you stay cool and comfortable while looking chic. Plus, the pattern is totally customizable for any size, allowing you to create a dress that fits you perfectly.
This versatile piece can be worn as a stylish beach cover-up, providing just the right amount of coverage while still showcasing your favourite swimsuit underneath. It's also great for casual beachside strolls or paired with a slip for a day out in the sun. The delicate waves and airy texture of the dress will have you feeling breezy and beautiful.
So grab your yarn and hook, and get ready to make the Iris Wave Beach Dress your go-to summer garment. With its simplicity and elegance, this dress will surely become a staple in your warm-weather wardrobe. Happy crocheting!
Materials:
400g/1000yrds of DK/light worsted #3 Cotton Yarn in your main colour (A) (I used Emu Cotton DK in Bluebell);
150g/400yrds of DK/light worsted #3 Cotton Yarn in your seconf colour (B) (I used Emu Cotton DK in Frost);
5mm/H hook;
Darning needle;
Stitch markers;
This pattern uses US crochet terms
This beach dress is made using 2 identical panels. It is completely customisable for your own size. Adjust the amount of starting chains using the multiples provided if necessary. NOTE: I am 5’ 10” and made it to fit me.
Instructions:
Using colour A, ch 263 (or a multiple of 4 plus 3).
Row 1: Starting in the 5th ch from the hook, place (2dc, ch1, 2dc) all in the same ch. Skip 3 chs. Repeat from to until you have 2chs remaining. Skip 1 ch and place 1dc in the final ch. Ch3, turn.
Row 2: In the ch1 sp (in between the 2x2dcs from row 1), place (2dc, ch1, 2dc). Repeat in each ch1 sp along the row. At the end of the row, place 1dc in the top of the skipped chains from the beginning of row 1.
Fasten off A and join B.
Row 3: (Ch5, sl st in the ch1 sp) all the way along the row. At the end of the row, ch5 and sl st into the top of the ch3 from row 2. Ch5, turn.
Row 4: (Sl st around the ch5 from the previous row, ch5) repeat to the end of the row. Ch5 and sl st into the 3rd of the 5chs from the previous row. Ch5, turn.
Rows 5 and 6: Repeat row 4. At the end of row 6, do not ch5. Turn.
Fasten off B and join A.

Row 7: Ch3. In the ch5 sp place (2dc, ch1, 2dc). Repeat in each ch5 sp along the row. At the end of the row, place 1dc into the 3rd of the 5chs from the previous row. Ch3, turn.
Row 8: In the ch1 sp place (2dc, ch1, 2dc). Repeat in each ch1 sp along the row. At the end of the row, place 1dc in the top of the ch3 from the previous row. Ch3, turn.
Rows 9 and 10: Repeat row 8.
Fasten off A and join B.
Row 11: (Ch5, sl st in the ch1 sp) all the way along the row. At the end of the row, ch5 and sl st into the top of the ch3 from row 2. Ch5, turn.
Row 12: (Sl st around the ch5 from the previous row, ch5) repeat to the end of the row. Ch5 and sl st into the 3rd of the 5chs from the previous row. Ch5, turn.
Rows 13 and 14: Repeat row 12. At the end of row 6, do not ch5. Turn.
Fasten off B and join A.
These rows form the pattern repeat. So it goes:
Chain row
2 x iris st rows
4 x ch5 rows
4x iris st rows
4x ch5 rows
2x iris st rows
and so on.

You can continue growing the panel until it is the size you require, remembering that 1 panel makes up half of your dress. Once you are happy with the size, end on an iris st row. In colour B, ch3 then work 1 dc in each of the dcs from the previous row (not in the ch1 sp though) to finish off the panel.
Make an identical panel and then lay it out on the floor or table. Decide how low you would like the neck at the front and how high to bring it up to the back. Use stitch markers to mark out where you will seam it to. Using mattress st and a darning needle, sew up the seams to the stitch markers you’ve placed.
Now fold the dress in half and use stitch markers to hold the 2 side seams together. Decide how big you want your arm holes and use a marker to mark it. Repeat in the same way on the other side so both arm holes are the same size and then sew up these 2 sides, too.
Finish off by sewing in any loose ends.
And the Iris Wave Beach Dress is complete!
SEO:
Free crochet pattern, Crochet beach dress, Iris Wave Beach Dress, Easy crochet dress, Crochet cover-up, Lightweight crochet dress, Cotton DK yarn crochet, 5mm crochet hook, Beginner crochet pattern, Quick crochet project, Customizable crochet dress, Lacy crochet dress, Summer crochet pattern, Crochet dress tutorial, Crochet beach cover-up pattern, Crochet for beginners, Free crochet dress pattern, DIY crochet dress, Two-colour crochet pattern, Simple crochet dress, Beach dress crochet pattern, Quick crochet dress, Crochet dress instructions, Crochet fashion, Crochet clothing pattern, Easy summer crochet project, Handmade crochet dress, Stylish crochet dress, Crochet patterns free download, Beachwear crochet pattern
Comments